
Training Outdoors with Zero Gear? Let’s Smash It!
So, how many times do you ditch the idea of training hard because the gym just doesn’t click for you? You know the drill—the fitness centre sits miles away, you’ve got logistics to juggle, and time slips through your fingers. Suddenly, excuses stack up faster than a ClickDo SEO campaign, and you never take that first step towards something massive: sorting out your physical health. But hold up—here’s the good news. I reckon it’s way easier, and honestly, more effective than you think.
Now, before you jump to conclusions, I’m not knocking gym workouts. Far from it—I hit the gym myself, and it’s ace. However, the freedom of training anywhere, anytime? That’s the real deal. So, let’s dive into what I’m raving about: Calisthenics Training. This is your no-excuses ticket to staying active and looking after yourself. Forget fancy equipment or pricey memberships—you just need your body, a bit of space, and some proper motivation to get cracking.
Train as you feel it
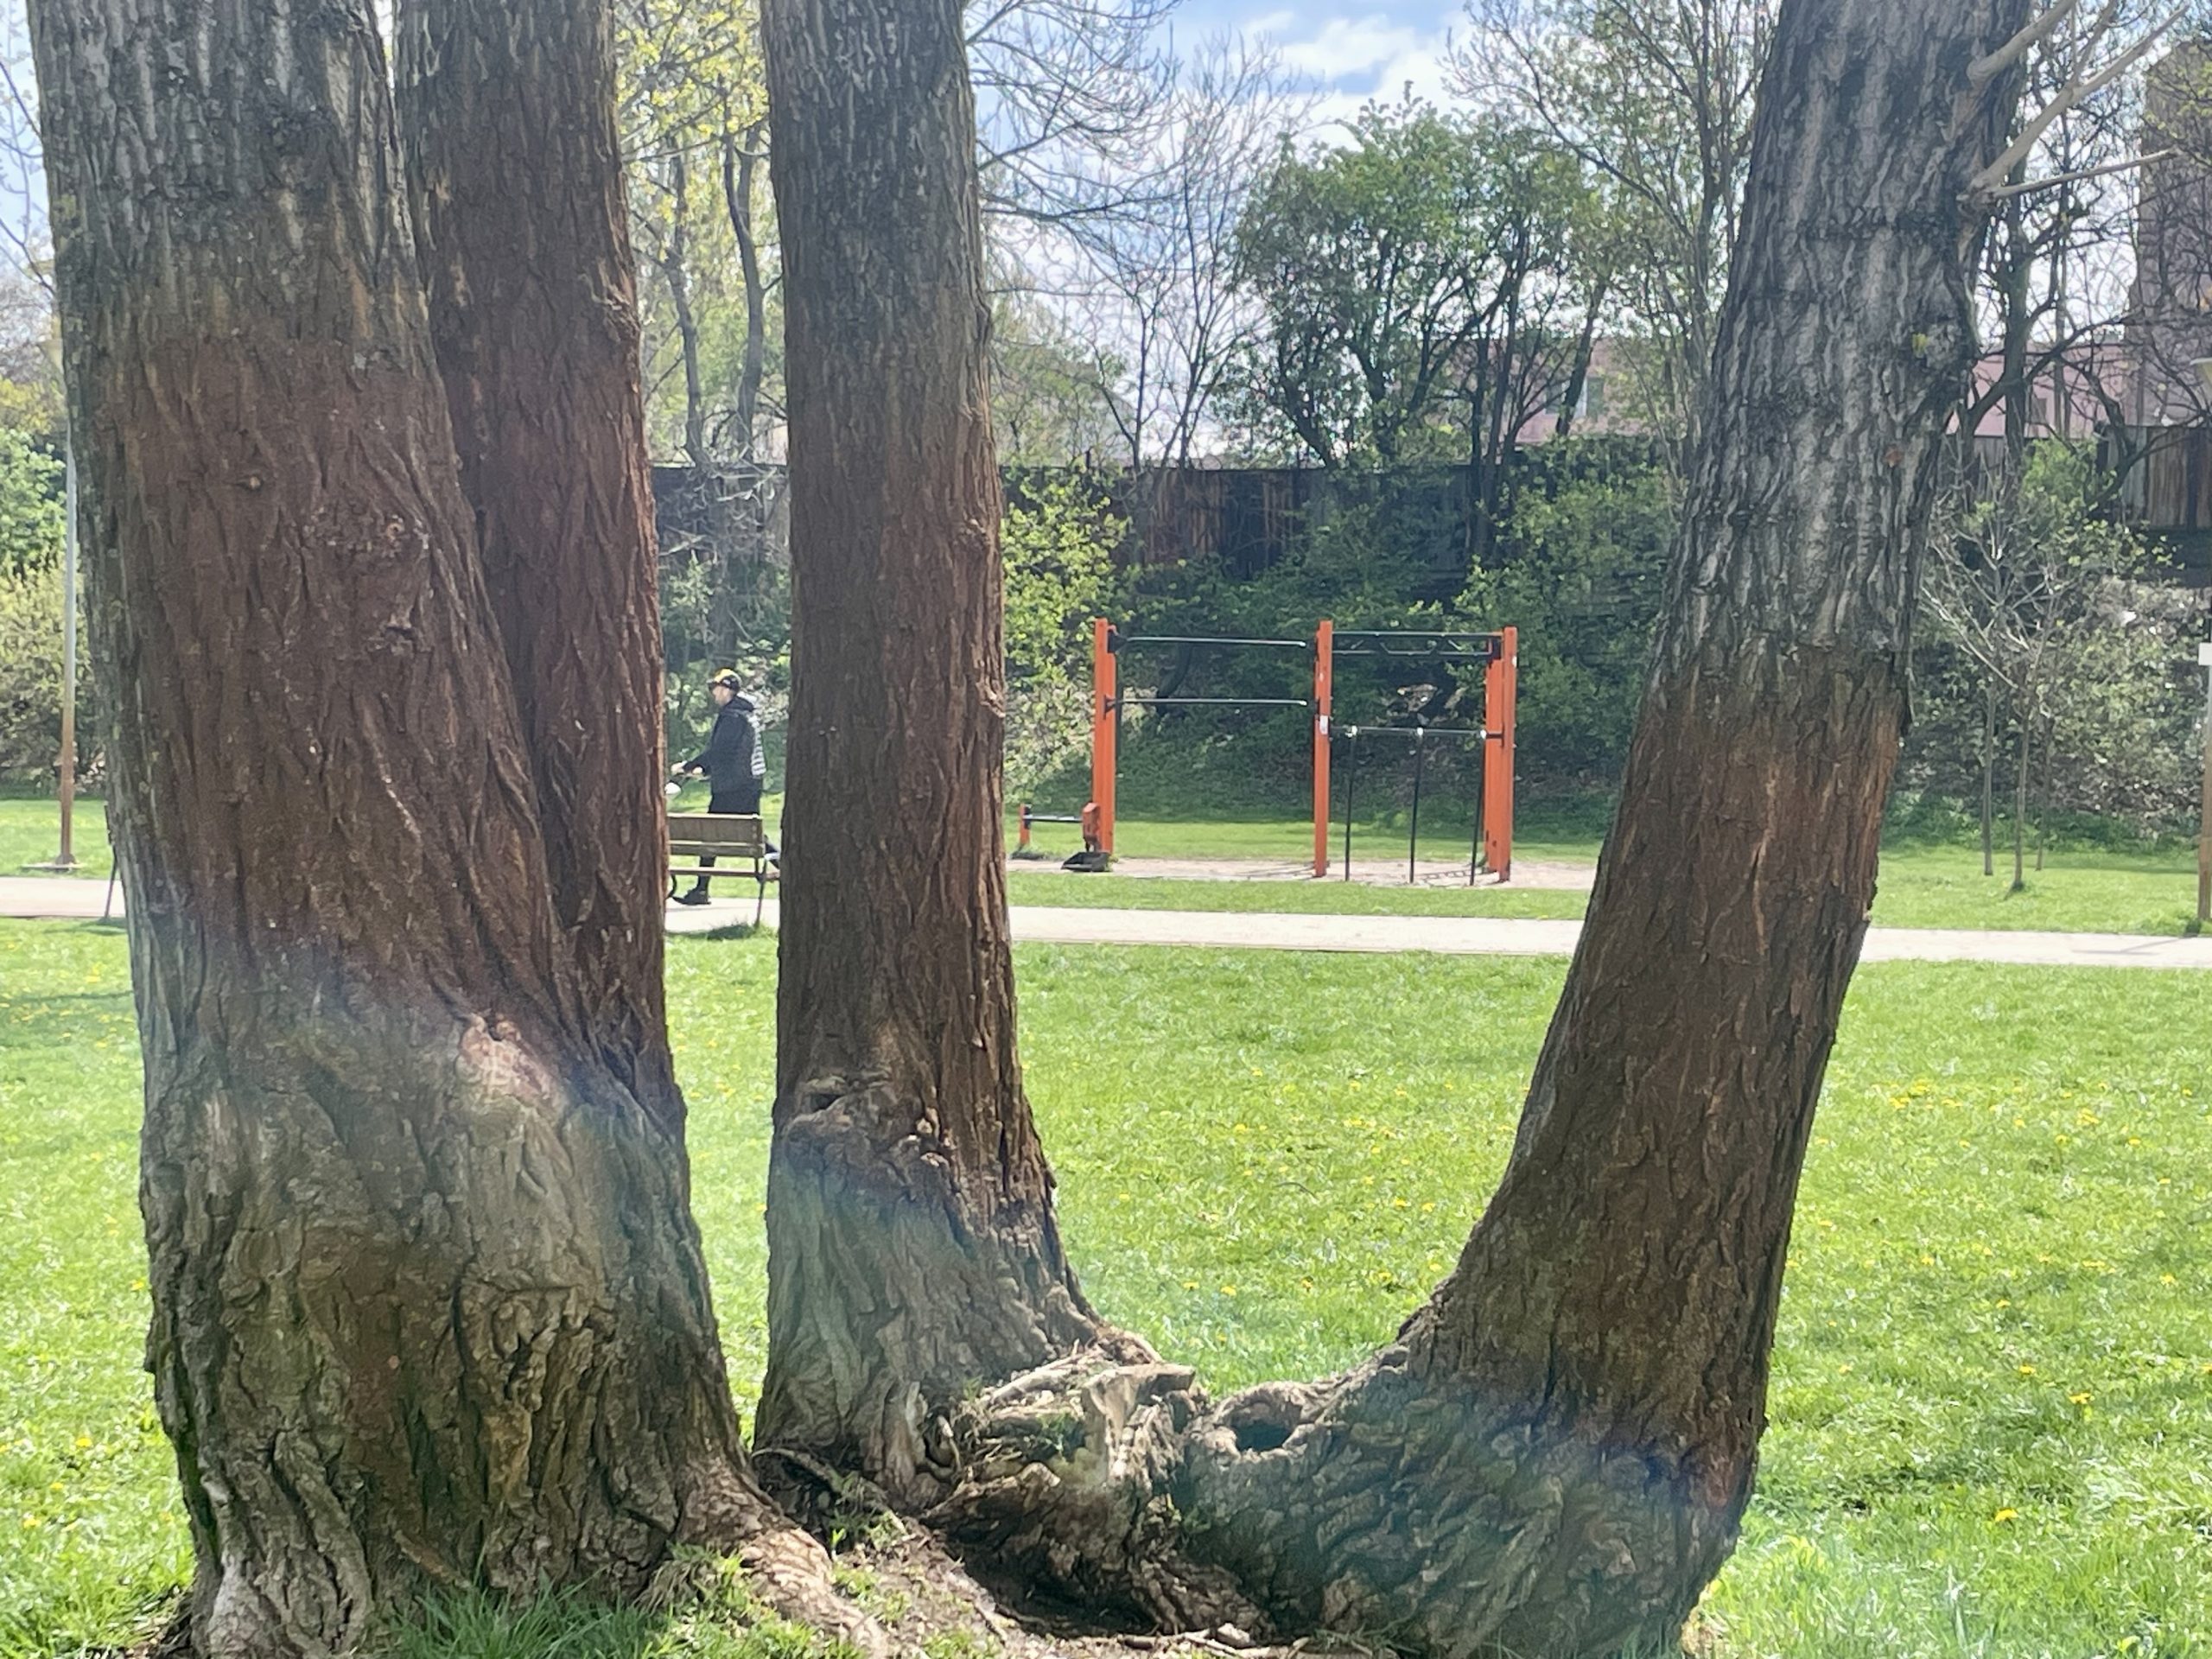
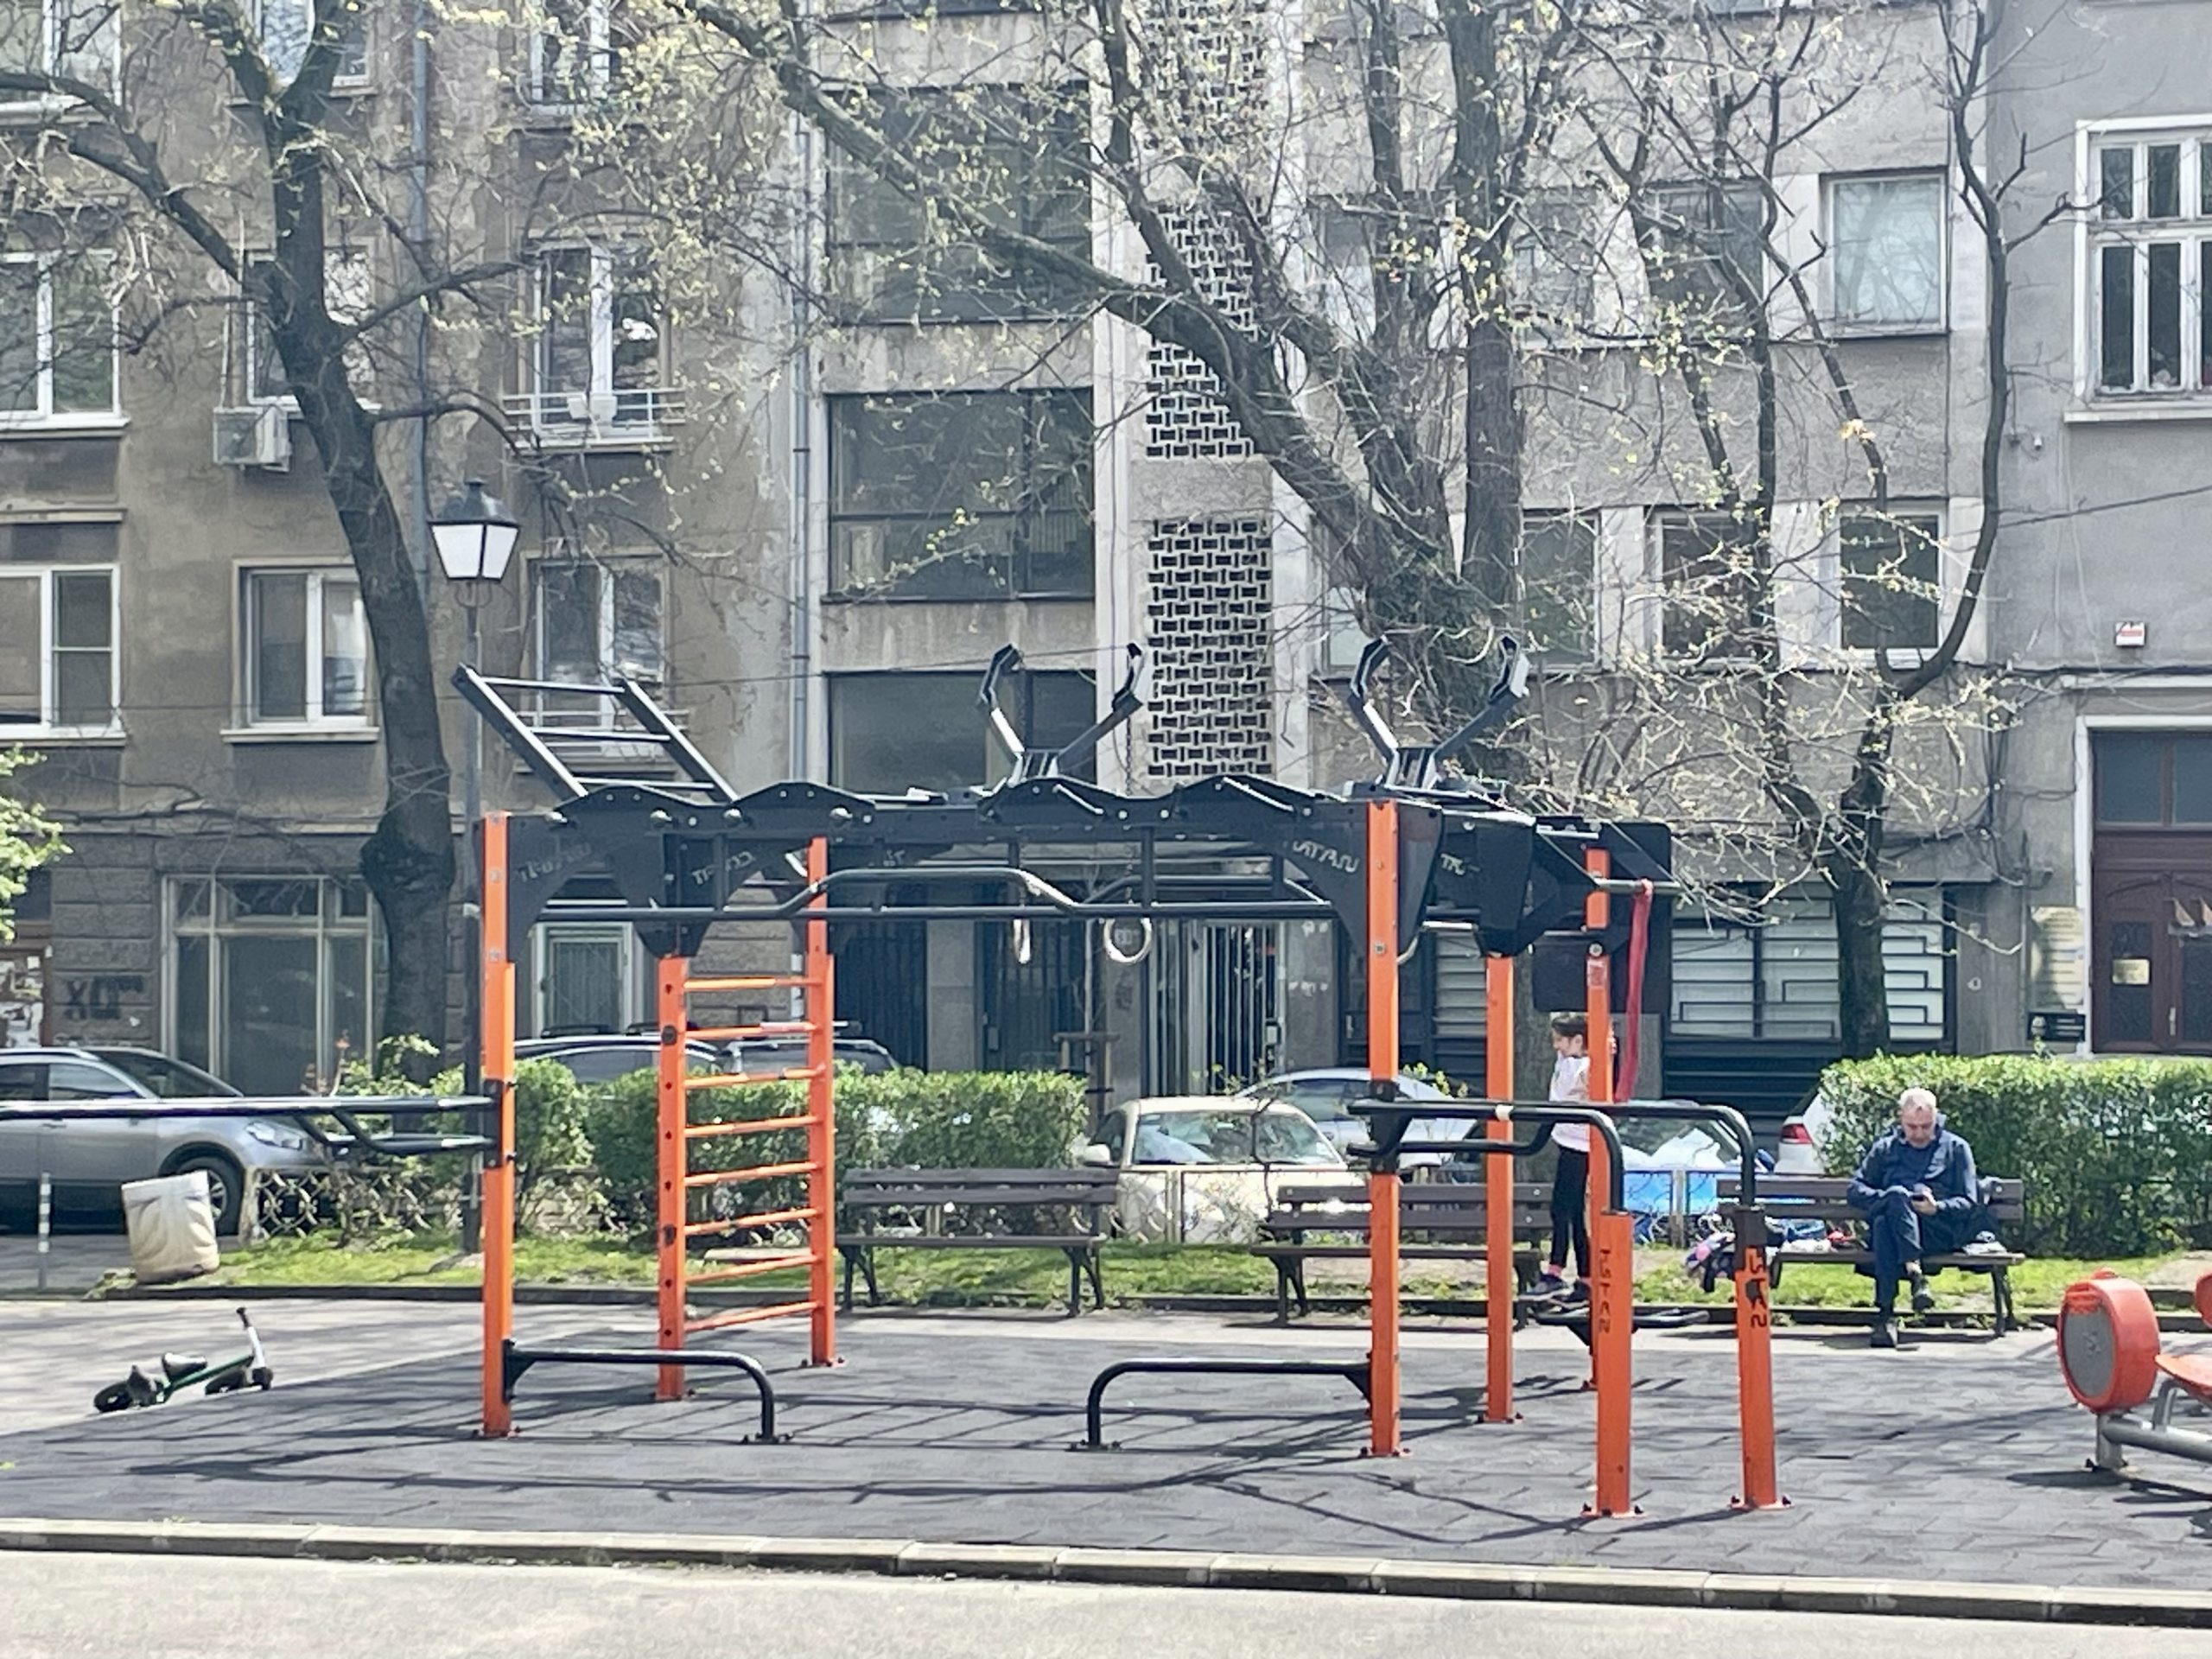
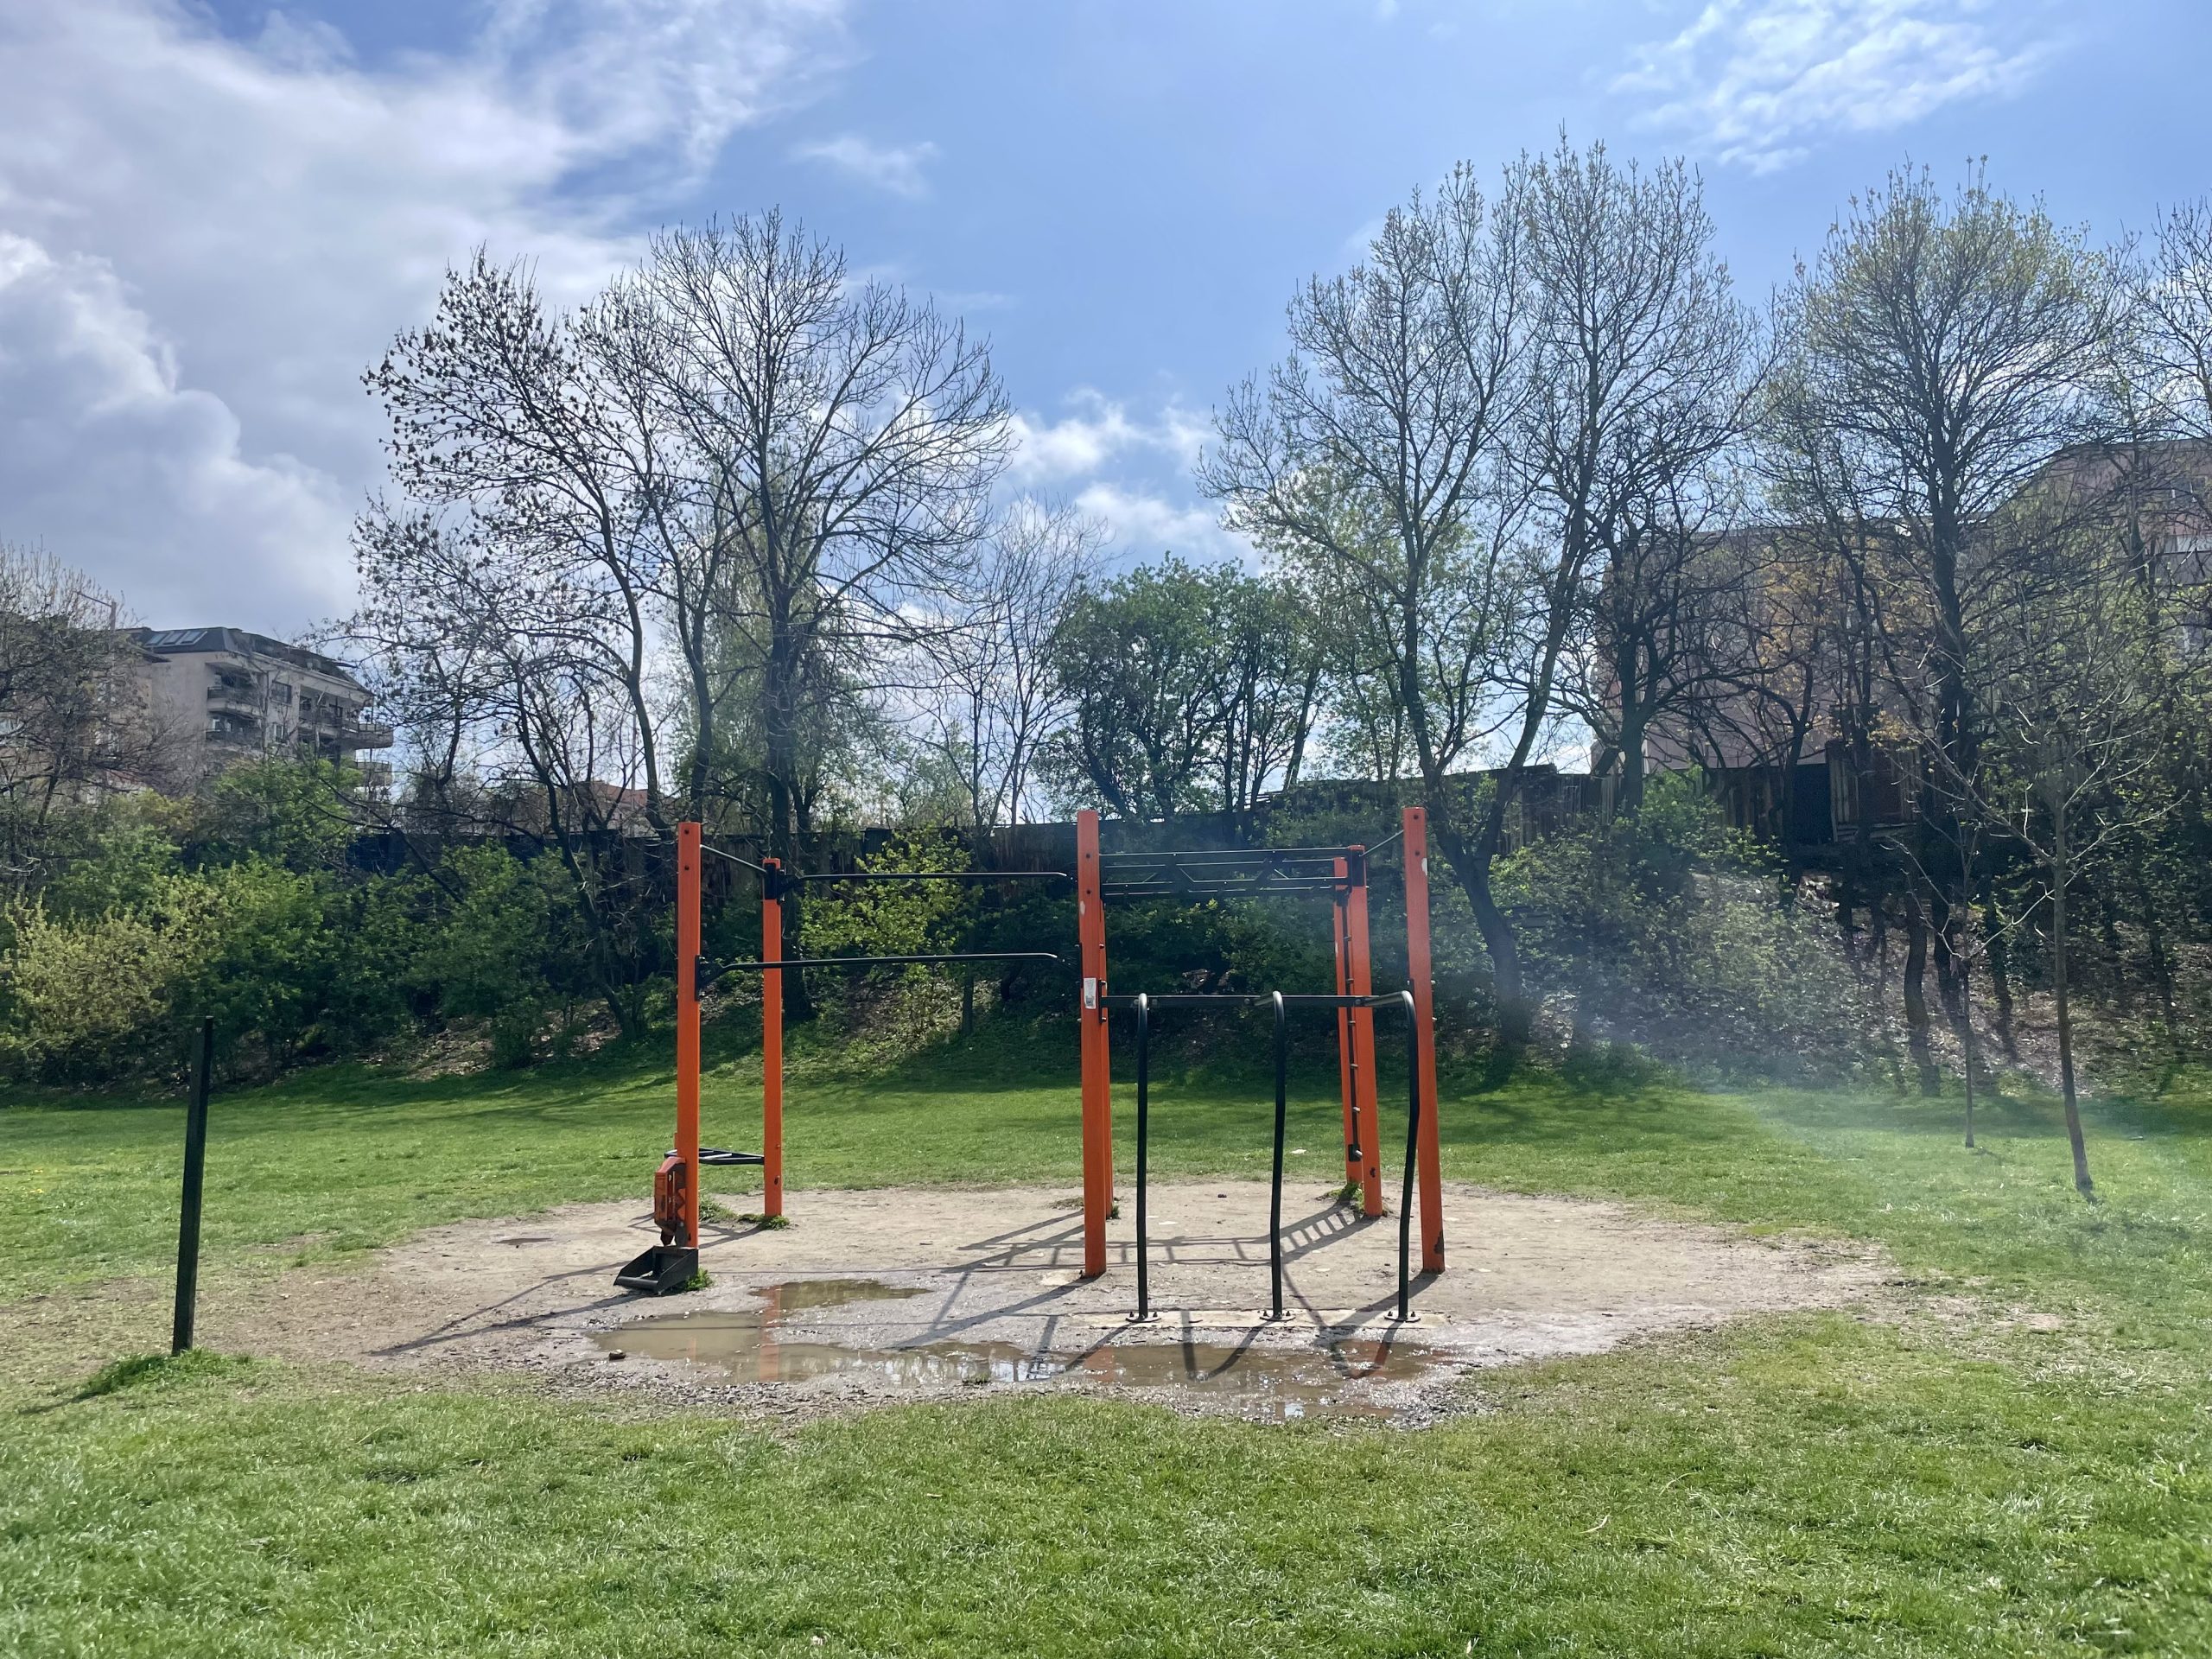
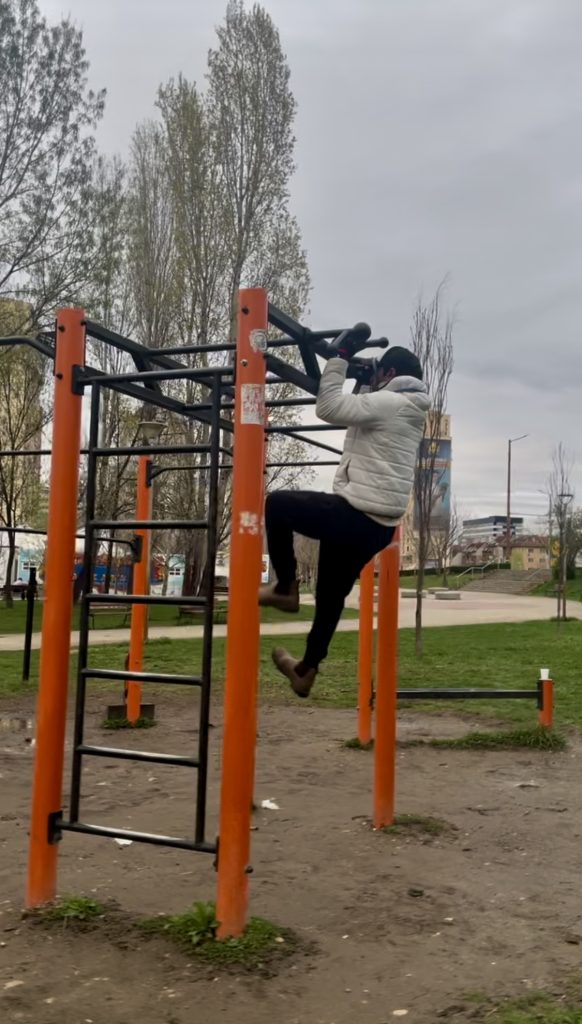
Next, let me break down the perks of this outdoor hustle. Want to feel unstoppable and keep fit? You can nail it anywhere. For instance, I’ve been zipping over to Sofia, Bulgaria, lately, and I’m buzzing about what I’ve seen. The parks there—big ones, small ones—boast cracking outdoor training zones with pull-up bars and all sorts. Naturally, that’s a huge win.
Nowever even if you don’t spot those setups near you, no sweat. Just scout a spot where cars won’t zoom by—maybe a park, your backyard if you’ve got a house, the beach when you’re on holiday, or even your living room. Seriously, options pop up everywhere. So all it takes is your drive, plus a tidy set of exercises to smash out. And trust me, it’s not some brain-busting puzzle—it’s dead straightforward and totally within your reach.
What’s Calisthenics Training, You Ask? Let’s Dive Right In!
So, what’s the big fuss about Calisthenics Training? Well, mate, it’s hands-down one of the slickest ways I know to carve out a strong, lean, and functional body—without splashing cash on fancy gear. Seriously, you don’t need a dime for equipment. Instead, Calisthenics fires up your strength through bodyweight exercises, skipping the weights and gym machines entirely. Meanwhile, it locks in on proper functional moves—think pushing, pulling, jumping, and balancing. Consequently, you boost your strength, endurance, flexibility, and coordination all at once. How’s that for a win?
Now, let’s get to the juicy bit: the charm of Calisthenics Training. For starters, you don’t need a shred of kit. Nope, nothing at all. After all, everything you need sits right there in your own body. Essentially, these exercises hinge on using your own weight—and trust me, that’s no walk in the park. In fact, it often smacks harder than slinging iron in the gym. So, here’s the plan: snatch a bottle of water, pop on your headphones if you’re craving a killer playlist for that extra motivation and rhythm, and then bolt out to the closest park. Boom—done!
Freedom to train anytime and anywhere
But wait, what if you’re thinking, “Fernando, I haven’t a clue where to start”? No stress. Simply swing by my spanking new site and eyeball my tips. There, I’ve laid out a 30-day plan to kickstart your journey. Alternatively, if you’re chilling in London, hit me up! We’ll smash a workout together—because, frankly, I’m always buzzing to get moving.
Besides sculpting your body, Calisthenics hooks you into a crew of like-minded legends. Yep, you’ll meet folks who live for this stuff and, before you know it, you’re part of a mini active squad. So, why wait? Get out there, connect with the tribe, and let’s turn fitness into a full-on adventure!
What Exercises Should You Smash Out? Let’s Get Cracking!
So, you’re wondering what moves to tackle in Calisthenics? Well, first off, you need a plan—and I mean a proper one you stick to like glue. For starters, pick a solid set of exercises, then dive in and start nailing them. Next, every time you hit it, crank up the reps or toss in something fresh. That’s how you keep the gains rolling!
Now, I’ll drop you some cracking tips for exercises to kick things off. Once you build a bit of know-how, though, you’ll feel unstoppable—trust me. Soon enough, you’ll even start cooking up your own moves and flows like a pro. But before we get ahead of ourselves, let’s nail the basics. After all, it’s all about starting where you stand and pushing forward.
Anyways, here’s the good stuff: Examples of Calisthenics Exercises that work for beginners and pros alike. Simply cherry-pick the ones you vibe with—ones you can smash out with confidence and swagger. Meanwhile, don’t sweat the tricky stuff yet; just focus on what feels right. Later, as you level up, you’ll add more spice. For now, though, let’s keep it simple and effective—because, honestly, that’s how you build a foundation that lasts!
Squats
Bodyweight Squat: Stand with feet shoulder-width apart, lower your body as if sitting back into a chair, keeping your chest up and knees over your toes. Return to standing.
Goblet Squat: Hold a dumbbell or kettlebell close to your chest with both hands. Perform a squat while keeping the weight in line with your center of gravity.
Sumo Squat: Stand with feet wider than shoulder-width and toes turned slightly outward. Lower your body straight down to engage the inner thighs.
Jump Squat: Perform a regular squat and jump explosively as you rise up. Land softly and go directly into your next squat.
Split Squat (Bulgarian Squat): Position one foot behind you on a bench or elevated surface. Lower your body into a squat with the front leg while keeping the back leg elevated.
Pistol Squat: A challenging single-leg squat where one leg is extended forward while lowering your body on the other leg.
Remember to maintain good form and start with weights that are manageable to avoid injury. If you’re new to squats, consider consulting with a fitness professional for guidance.
Lunges
Forward Lunge: Step forward with one leg, lowering your hips until both knees are bent at about a 90-degree angle. Push back to the starting position and alternate legs.
Reverse Lunge: Step backward with one leg, lowering your body until both knees are bent at about a 90-degree angle. Return to the starting position and switch legs.
Side Lunge (Lateral Lunge): Step out to the side with one leg while keeping the other leg straight. Lower your body toward the bent knee while keeping your opposite leg straight, then push back to start.
Walking Lunge: Perform a forward lunge, but instead of returning to a standing position, step forward with the back leg into the next lunge, walking forward as you go.
Curtsy Lunge: Step one leg back and across your body, lowering into a lunge. Keep your front knee aligned with your toes; repeat on the other side.
Jump Lunge: Start in a lunge position, then explosively jump, switching your legs in mid-air, landing in a lunge position with the opposite leg forward.
Static Lunge: Similar to a regular lunge, but instead of stepping, you remain in place. Lower yourself into the lunge and stay there for a set duration or for a number of repetitions.
Elevated Lunge: With your back foot elevated on a bench or platform, perform a lunge by lowering your body until your front thigh is parallel to the ground.
Lunge with a Twist: Step forward into a lunge and twist your torso towards the forward leg to engage your core, then return to standing.
These variations can help target different muscles and add variety to your workouts.
Push – Ups
Standard Push-Up: Begin in a plank position with hands shoulder-width apart. Lower your body until your chest nearly touches the ground, then push back up to the starting position.
Knee Push-Up: Perform a push-up while on your knees instead of your toes. This variation is easier and great for beginners.
Wide-Grip Push-Up: Place your hands wider than shoulder-width apart. Lower your body and push up, which targets the chest more.
Diamond Push-Up: Position your hands close together under your chest, forming a diamond shape with your thumbs and index fingers. This variation targets the triceps.
Incline Push-Up: Place your hands on an elevated surface (like a bench or step) while your feet are on the ground. This variation is easier and works similar muscles.
Decline Push-Up: Place your feet on an elevated surface and your hands on the ground. This increases the intensity and targets the upper chest.
Plyometric Push-Up: Start in a standard push-up position and explosively push off the ground, allowing your hands to leave the floor. Land softly and repeat.
Single-Arm Push-Up: Perform a push-up using one arm while the other is behind your back. This is an advanced variation that requires significant strength and stability.
Spiderman Push-Up: While lowering into a push-up, bring one knee toward the elbow on the same side. Alternate sides with each repetition.
Archer Push-Up: Spread your hands wide, and as you lower your body to one side, extend the opposite arm straight out. Alternate sides, which increases the challenge on each arm.
These variations can help you target different muscle groups and add excitement to your workouts.
Sit-ups
Standard Sit-Up: Lie on your back with knees bent and feet flat on the ground. Cross your arms over your chest or place your hands behind your head. Engage your core and lift your upper body towards your knees, then lower back down.
Crunches: Similar to sit-ups but with a smaller range of motion. Lie on your back, lift your shoulders off the ground while keeping your lower back pressed down, then return to the starting position.
Bicycle Crunch: Lie on your back with your hands behind your head and legs lifted in a tabletop position. Bring one knee towards your chest while twisting your torso to touch the opposite elbow to that knee, then switch sides in a pedaling motion.
Reverse Crunch: Lie on your back with your arms at your sides and legs lifted. Curl your hips off the ground, bringing your knees toward your chest while keeping your upper body on the floor.
V-Up: Lie flat on your back, then simultaneously lift your legs and upper body off the ground, reaching your hands toward your feet to form a “V” shape.
Sit-Up with a Twist: Perform a standard sit-up, but at the top of the movement, twist your torso to one side and lower back down. Alternate sides with each repetition.
These variations can help keep your core workouts challenging and engaging.
Planks
Standard Plank: Start in a push-up position with your forearms on the ground and your body in a straight line from head to heels. Hold this position while engaging your core.
Knee Plank: Similar to the standard plank, but with your knees on the ground. This is a gentler version suitable for beginners.
Side Plank: Lie on your side and prop yourself up on one forearm, stacking your feet on top of each other. Hold your body in a straight line from head to heels, engaging your obliques.
Plank with Shoulder Taps: In a standard plank position, alternate tapping each shoulder with the opposite hand while maintaining a stable core and avoiding rotation of your hips.
Plank Up-Downs: Start in a standard plank position. Push up to a push-up position one arm at a time and then lower back to the forearms. Alternate arms for each repetition.
Plank to Side Plank: Start in a standard plank, then rotate your body to one side into a side plank. Return to the center and switch to the other side.
Plank with Leg Lift: In a standard plank position, lift one leg towards the ceiling while keeping your body straight. Hold briefly, lower, and alternate sides.
Reverse Plank: Sit on the floor with your legs extended and hands behind you, fingers pointing toward your feet. Lift your body off the ground, creating a straight line from head to heels, and hold.
Plank Jacks: In a standard plank position, jump your feet out wide like a jumping jack, then jump them back together while keeping your core engaged.
These plank variations will help you target different muscle groups and increase the intensity of your workouts.
Time to Smash It and Level Up—Let’s Go!
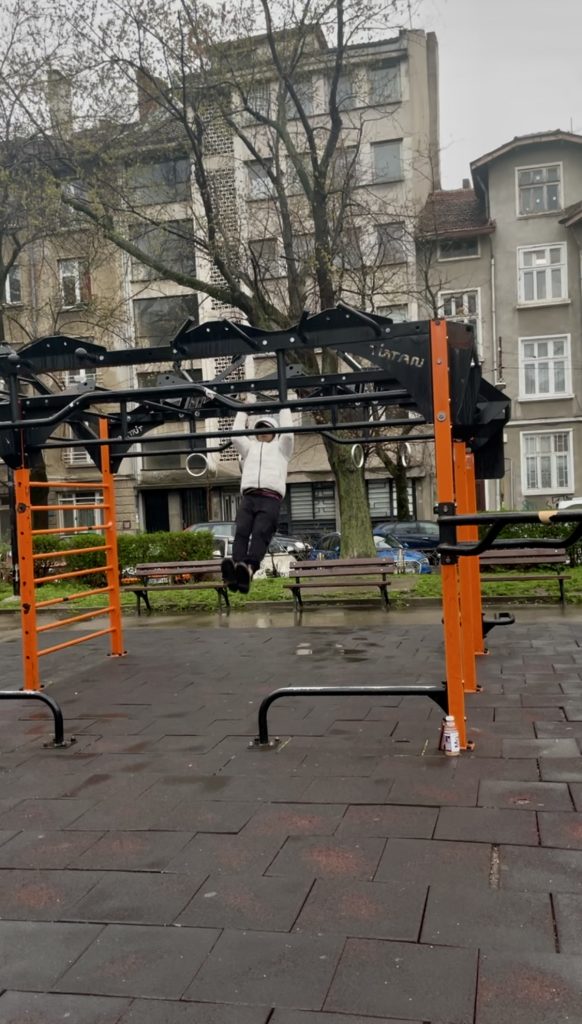
So, jump into those exercises I’ve laid out, and keep hammering them hard! For starters, train the different variations—then, once you nail one with confidence, chuck a fresh move into your flow. Sometimes, you’ll spot a wicked training bars area nearby. Well, grab that chance and use them to crank the challenge up a notch. Meanwhile, maybe sling a mat in your bag for comfort—or, if you’re like me and love the raw vibe, just scout a lush grassy spot and kick off there. Honestly, nothing beats staying tight with Nature. But, if the weather turns rubbish, no drama—just shift indoors and smash it at home instead.
Now, let’s break down the magic of Calisthenics—because, trust me, it’s a game-changer. First off, it taps your body weight for moves like push-ups, pull-ups, dips, and squats. Next, it boosts your functional strength—mimicking natural moves so everyday tasks feel like a breeze. Plus, unlike weightlifting, it ramps up your mobility and flexibility with full-on range of motion. Then, here’s the kicker: you can do it anywhere with next to no gear—total accessibility, mate! Finally, it scales for everyone—beginners kick off with the basics, while pros push into epic skills like muscle-ups, handstands, and planches. How’s that for versatility?
So, what’s the move? Let’s launch the Calisthenics Training challenge today! Seriously, I’m diving in right now—because, frankly, there’s no time like the present. Join me, mate—get out there, feel the buzz, and let’s make it happen!
